How to Setup Headless Raspberry Pi
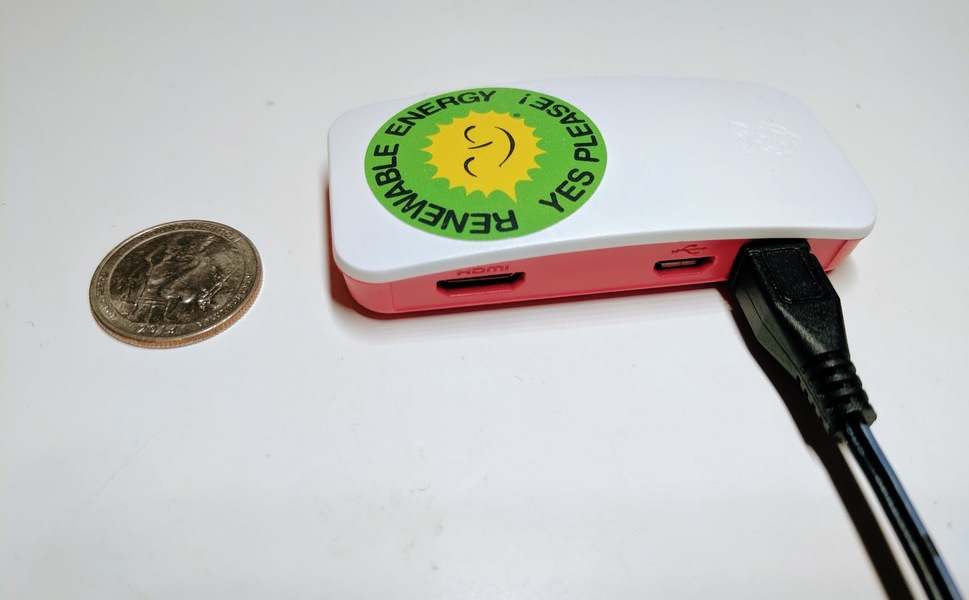
Quarter to scale
“I had no ideas for projects” was the reason I waited so long before finally buying a Raspberry Pi. I got tired of waiting for a light bulb to appear, and ordered a model Zero W. It’s the smallest one, and it can connect to wireless networks. Only later I found out that this model was not recommended for beginners. One of the reasons might be that there is no soldered general purpose pins. Which means you need some soldering to do if you want to connect any low-level peripherals.
The set I bought had a preloaded SD card too, and I started from there. The very first problem I had was about powering the device. For a moment, I couldn’t figure out how to turn it on. As it turns out, it powers on as soon as you connect the power cable, that is, there is no power switch. And there’s a LED that blinks if something is wrong.
Noobs was the preloaded system in card, which I played with for a couple hours. It welcomes you with a menu, listing several operating systems for you to choose. Then it downloads & installs what you select, while reserving some space for recovery. This makes it easy to get a taste of how each Pi-compatible OS looks like.
In the end, I decided I did not want Noobs. I wanted to have “something like Ubuntu”, and with no Desktop. My goal was to have my Pi running, using only power cable and WiFi. I ended up installing “Raspbian Lite”, which is a Debian.
I did manage to get a headless-Pi running on Debian, without ever connecting a keyboard or screen to it. I kept some notes so that I don’t forget how I did that, and what you are reading are exactly those notes.
Step 1: Flash Raspbian-Lite into card
First step is to download and flash the OS. Download Raspbian Lite on right. It’s an archive that has a single image file in it, and that’s what we need. You also need Etcher, a tool for flashing images into SD-cards. It makes the process easier. Insert your SD card, and point to image file in archive. Don’t remove your card yet.
Step 2: Enable SSH
I appreciated how Raspbian comes with SSH-disabled by default. It’s to prevent someone else from trying default password to reach your Pi. But here, we want to turn it back on. If you already connected a keyboard and screen, you can use raspi-config to turn it on. If you want to start headless, there’s another way. You will notice there are two partitions in card. Go into “boot” partition, and create an empty file named ssh: touch ssh. Raspbian will remove this file and enable ssh. It will also print a warning that says “Change your password you fool” when you login.
Step 3: Connect to Wireless Network
I have a network protected with a WPA2 password. You might need to do some extra research if you want to connect to, say, an enterprise WiFi.
Just like the file created for enabling ssh, we will create another one for WiFi in the very same “boot” partition, this time with the name wpa_supplicant.conf. This file will contain our password. Here’s how it should look like:
ctrl_interface=DIR=/var/run/wpa_supplicant GROUP=netdev
network={
 ssid="my_network"
 psk="my_password"
}
Make sure NOT to remove quotes. There’s one problem with this approach: your password is visible to anyone who has access to the file. It’s a better idea to not have it this way. If you are using Ubuntu/Debian, run the following command:
wpa_passphrase "my_network" "my_password"
Here’s another quick tip: If you don’t want your password to show up in your bash history, put a space before command above. This command will output a text like below:
network={
 ssid="my_network"
 #psk="my_password"
 psk=a4ea383f2d8e77c45ec859de70b9ea37b30d79153d049cbc88fe6bc86d2cba3d
}
You can take uncommented psk line and replace it with plaintext password. Make sure not to forget ctrl_interface, otherwise you might not be able to connect to WiFi.
Step 4: Power on!
Before connecting Pi to power, run following command on your machine.
nmap -sP 192.168.0.1/24
This will list devices/hosts connected to your network. Note that your network may be on a different address, so try 192.168.1.1 or 192.168.2.1 if above doesn’t list anything.
Note the number of hosts that are up. Then turn your Pi on, and wait for 15 seconds. Run the command again, and you will see a new host (Pi) on you network. Assume its IP address is 192.168.0.13. You can use following command to ssh:
ssh pi@192.168.0.13
It will ask for a password, the default password is raspberry. Once logged in, first thing you should do is to run passwd and pick yourself a new password.
That’s pretty much how far I could get so far! I will write more blogs about Pi as I go forward.